"Ultimate Guide to Homemade Lemon Soap Recipe: Refreshing Citrus Cleanser for Your Skin"
#### Lemon Soap RecipeCreating your own lemon soap at home is not only a fun and rewarding experience, but it also allows you to customize the ingredients t……
#### Lemon Soap Recipe
Creating your own lemon soap at home is not only a fun and rewarding experience, but it also allows you to customize the ingredients to suit your skin's needs. The lemon soap recipe is perfect for those who appreciate the refreshing scent of citrus and the natural benefits it brings to the skin. Lemon is known for its antibacterial properties and can help brighten your complexion, making it an ideal ingredient for a homemade soap.
#### Benefits of Lemon Soap
Lemon soap offers numerous benefits. The natural acidity of lemon helps to exfoliate dead skin cells, promoting a brighter and more even skin tone. Additionally, the antioxidants found in lemons can help combat free radicals, which are responsible for premature aging. Using lemon soap regularly can leave your skin feeling rejuvenated and fresh, making it an excellent addition to your skincare routine.
#### Essential Ingredients for Lemon Soap
To create your own lemon soap, you will need the following ingredients:
- **Lye (Sodium Hydroxide)**: This is essential for the saponification process, where oils turn into soap.
- **Distilled Water**: Used to dissolve the lye.

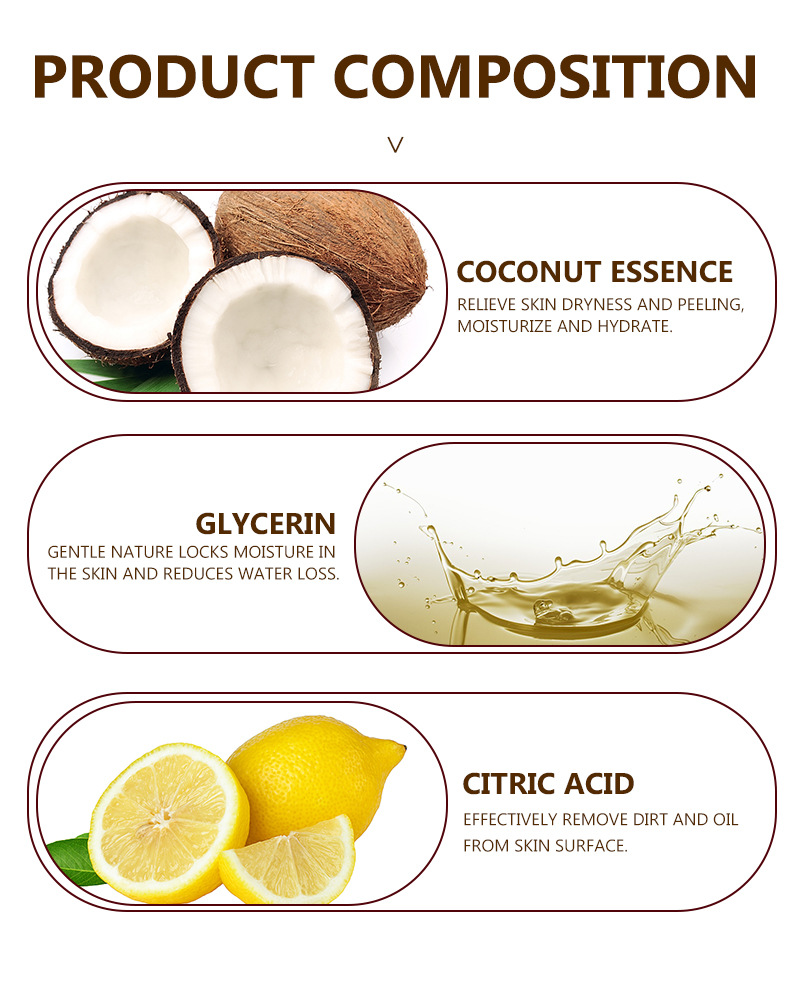
- **Oils**: Choose a combination of oils such as olive oil, coconut oil, and palm oil for a balanced soap.
- **Lemon Essential Oil**: For fragrance and additional skin benefits.
- **Lemon Zest**: Adds a natural exfoliant and enhances the lemon scent.
- **Colorants (optional)**: Natural colorants can be added for aesthetic appeal.
#### Step-by-Step Lemon Soap Recipe
1. **Safety First**: Always wear gloves and goggles when handling lye, as it is caustic and can cause burns.

2. **Prepare the Lye Solution**: In a well-ventilated area, carefully measure out the lye and distilled water. Slowly add the lye to the water (never the other way around) and stir until dissolved. Allow it to cool.
3. **Melt the Oils**: In a separate container, measure and melt your oils together. Ensure they are combined well and at a temperature similar to the lye solution.
4. **Combine Lye and Oils**: Once both mixtures are at a similar temperature (around 100-110°F), slowly pour the lye solution into the oils while stirring continuously.
5. **Blend to Trace**: Use an immersion blender to mix until you reach "trace," which is when the soap mixture thickens and leaves a trail on the surface.
6. **Add Lemon Ingredients**: Stir in the lemon essential oil and lemon zest. If you’re using colorants, add them now.
7. **Pour into Mold**: Carefully pour the soap mixture into your mold, smoothing the top with a spatula.

8. **Cure the Soap**: Cover the mold with a towel and let it sit for 24-48 hours until it hardens. Once solid, remove from the mold and cut into bars.
9. **Cure the Bars**: Allow the soap bars to cure in a cool, dry place for 4-6 weeks. This ensures that the lye fully saponifies and the soap is safe to use.
#### Using Your Lemon Soap
Once your lemon soap has cured, it’s ready to use! The invigorating scent will awaken your senses, and the natural exfoliating properties of the lemon zest will leave your skin feeling fresh and clean. This homemade lemon soap makes for a thoughtful gift or a delightful treat for yourself.
In conclusion, the lemon soap recipe is a fantastic way to incorporate natural ingredients into your skincare routine. Not only does it provide cleansing benefits, but it also offers a refreshing citrus scent that can uplift your mood. With just a few simple ingredients and some patience, you can create a luxurious soap that showcases the benefits of lemon while pampering your skin. Enjoy the process of crafting your own lemon soap and the satisfaction that comes with using a product made by your own hands!